Salt Pepper Chicken (椒盐鸡 – Jiāo yán jī)

IMG_9961

It’s been almost 4 years since my last post! How much has changed since then! I got a PhD, married and now entering my 6th week in a global pandemic lockdown. So what better time to get back into cooking! After all everyone has to eat!

For my first recipe back into the blogosphere I have selected one of my all time favourite Chinese take-away meals. The dish has its roots in Taiwanese street stalls, where many of the most iconic Chinese dishes originate from. Also truth be told after a night of heavy drinking this is what I always crave, so makes sense it comes from night markets. Chicken wings or bites coated and fried with seasoning mixture, usually salt and pepper with optional extras like chilli powder, lightly fried basil leaves, and garlic bits are added for preference. Delicious things don’t stay local for long, this dish has migrated around the globe in may forms and has an enduring popularity with every audience.

I tried 4 or 5 recipes to try and capture the taste I remember growing up. But none of them was quite good enough. Of course the solution came from my parents, I don’t know why I didn’t just ask them first. I was initially sceptical… a batter without flour? This will never work! But as my sis always says the proof of the pudding is in the eating (name of her blog)! There’s no arguing with that! One mouthful brought me back to my childhood.

So here is it, my parents version of salt and pepper chicken. It’s often done with wings, but you can use boneless thigh fillets or breast. Also despite the name, the key ingredient is actual garlic, and there’s a lot! Bonus!
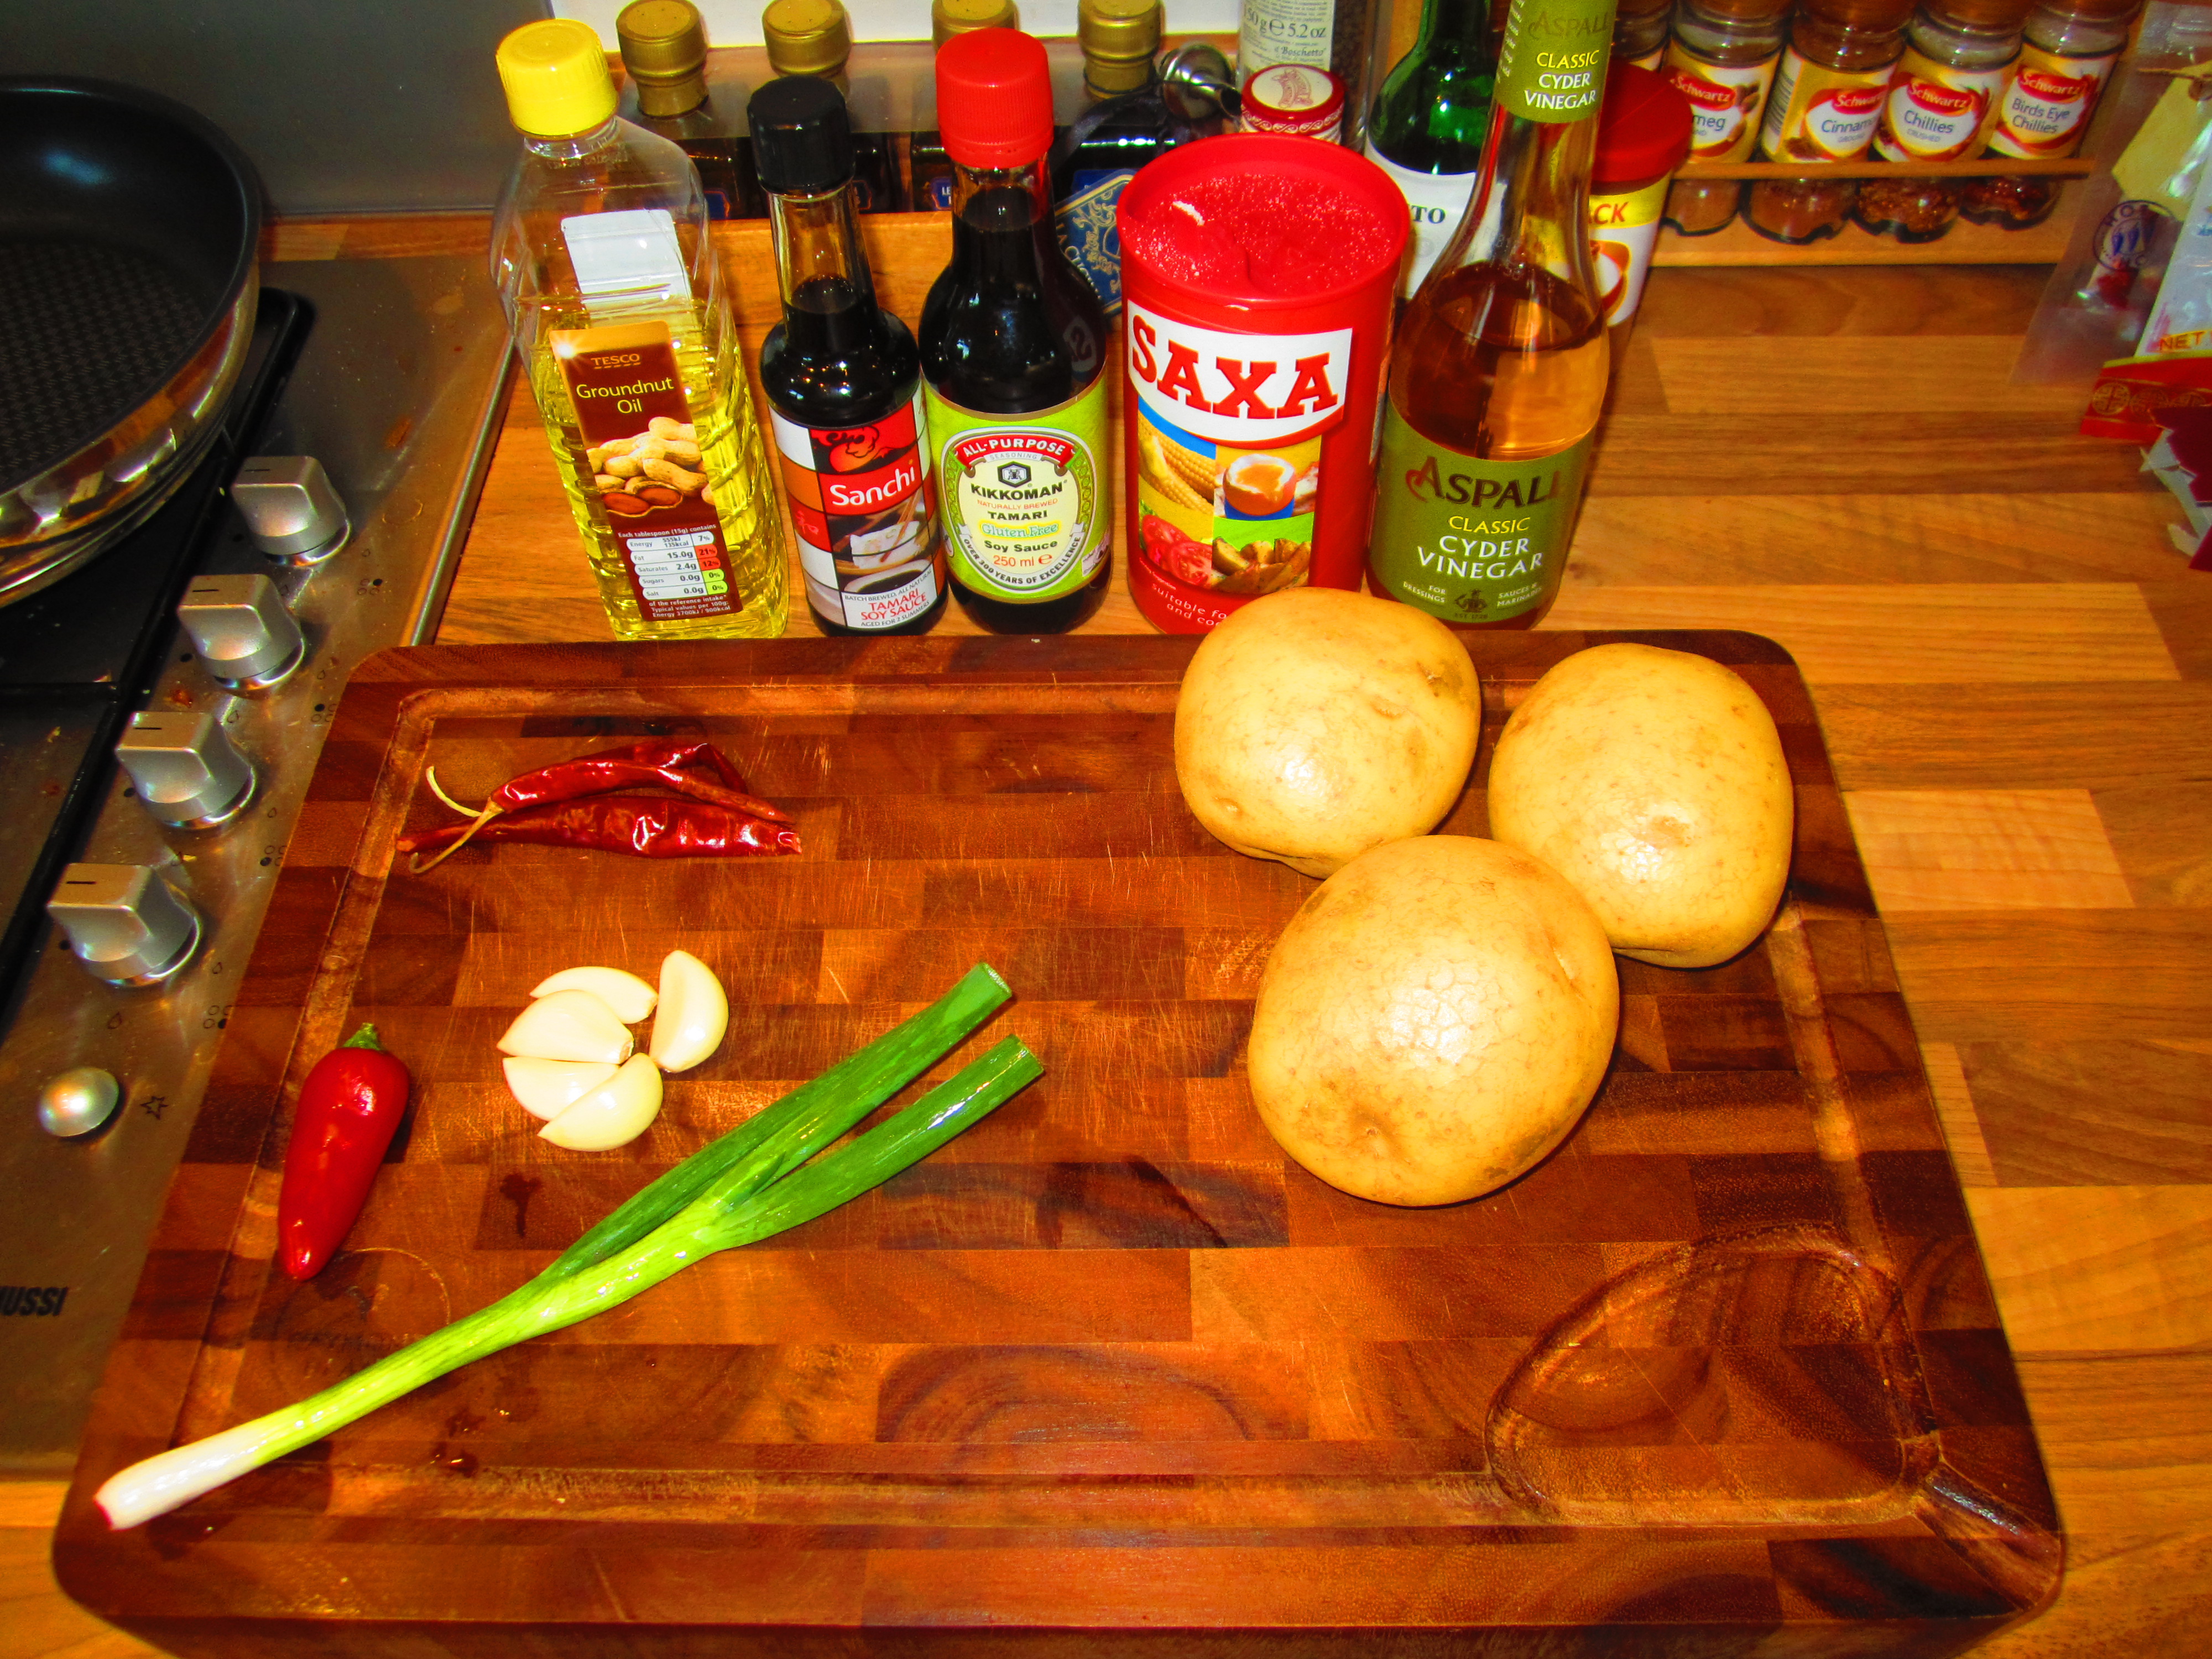
IMG_9919

Ingredients

15 chicken wings
6 large cloves of garlic, pressed
Handful of spring onions 3/4 will do but I like it a lot so there’s a lot, chopped
1 tablespoon chilli flakes
1 heaped teaspoon salt
25-50 ml gf soy sauce (or light soy sauce if using normal soy sauce half the quantity)
500 ml groundnut oil or vegetable oil

For the marinade:

2 large eggs
1½ heaped teaspoon white caster sugar
1 heaped teaspoon salt
½ heaped teaspoon ground white pepper
½ heaped teaspoon ground black pepper
½ heaped teaspoon Chinese five spice
½ heaped teaspoon Sichuan peppercorn powder

Utensils

1 medium wok
1 medium non stick pan
pestle and mortar
1 large bowl

Methods  

  1. Start by toasting the Sichuan peppercorns in a small frying pan, dry, until lightly golden. You should get a distinct aroma from the peppercorn. Transfer to a pestle and mortar, grind to a fine powder. This is one of my favourite smells, you can make lots at once and keep it to save time.
  2. Add 2 eggs to a large bowl and beat together.
  3. Add the caster sugar, salt, black and white pepper, five spice and Sichuan peppercorn powder and mix together.
    IMG_9914
  4. Take the wing and separate the drumette and the wingette, (optional if you prefer whole wings).
  5. Add the wings to the egg and mix together then leave for 20 minutes.IMG_9915
  6. Add the oil to a medium sized pan until ~2 cm of depth. Place on high heat until hot.
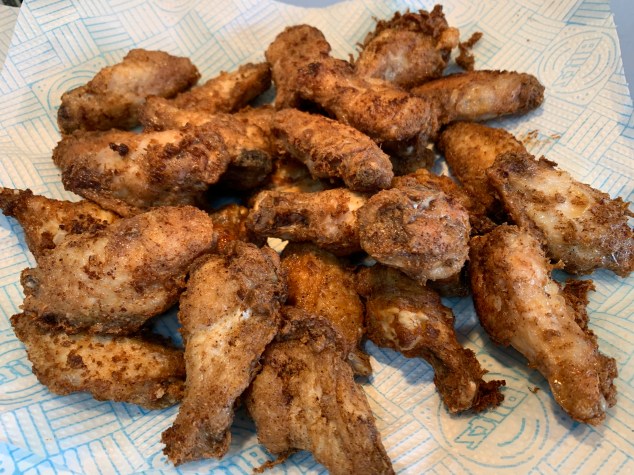
  7. Add the wings in batches to avoid overcrowding. Deep fry each batch for a minimum of 8 minutes, depending on the size of wings. Stir halfway through to ensure the meat is cooked thoroughly and evenly.IMG_9931
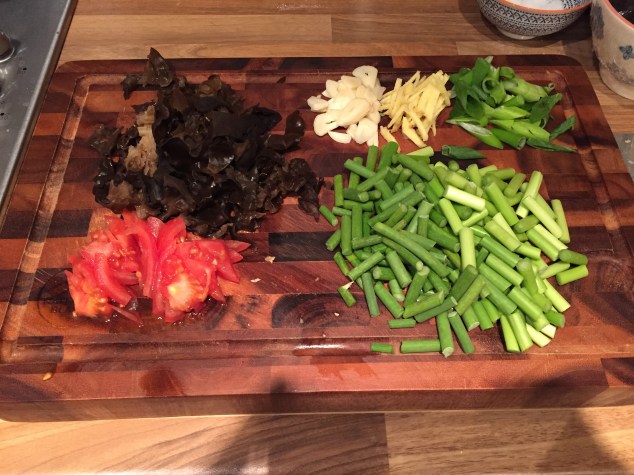
  8. In the meantime peel and press 6 cloves of garlic and finely chop the spring onion.
    IMG_9926
  9. When the chicken is golden, remove onto a double layer of kitchen towel to drain. Repeat step 7 until all the wings are done. IMG_9936
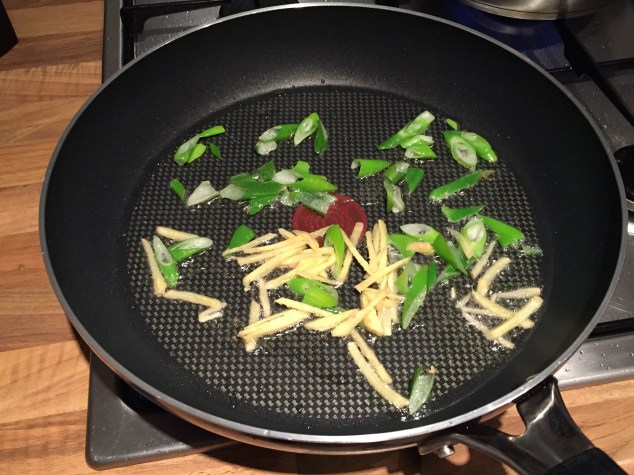
  10. Pour away most of the oil, leaving only enough to cover the base of the pan. Return the oil back onto a medium heat, then add the garlic. The garlic should gently sizzle in the oil to release the aroma, too much heat will burn the garlic and affect the taste. IMG_9940
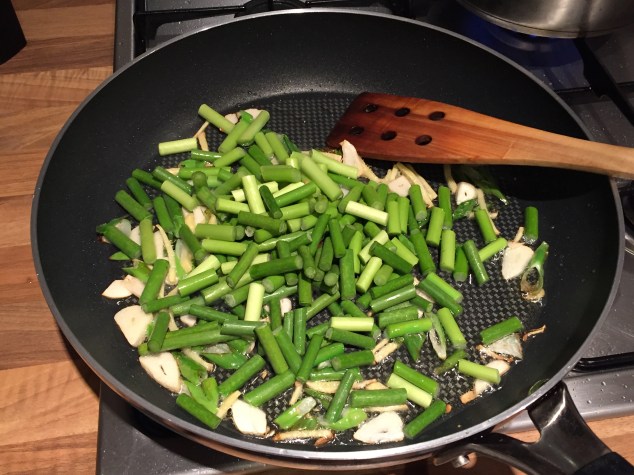
  11. After 1 minute or so, add the spring onion to the oil and turn up the heat to high. Fry for a further minute before adding the chilli flakes and salt. Stir together quickly.
  12. Add the chicken to the pan, then stir to ensure they are well mixed. Add the soy sauce and stir on high heat until most of the liquid is evaporated.
    IMG_9946IMG_9952
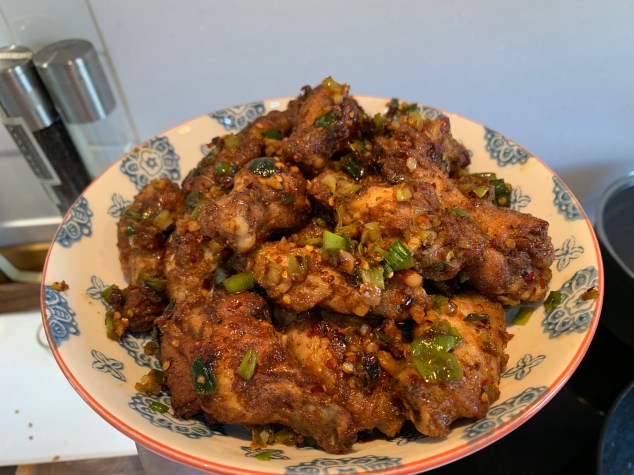
  13. Bam it’s done! Enjoy!
    IMG_9968
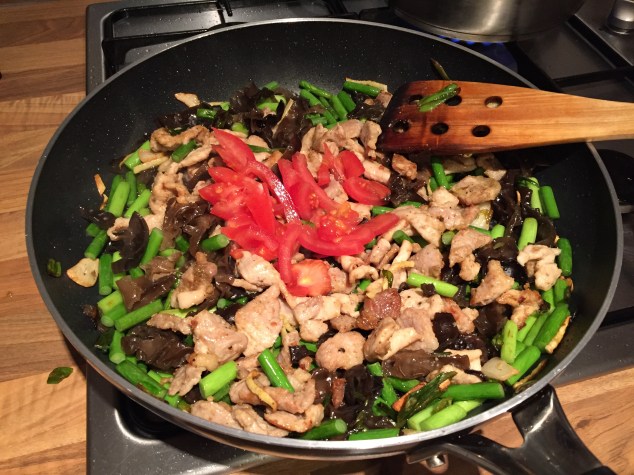
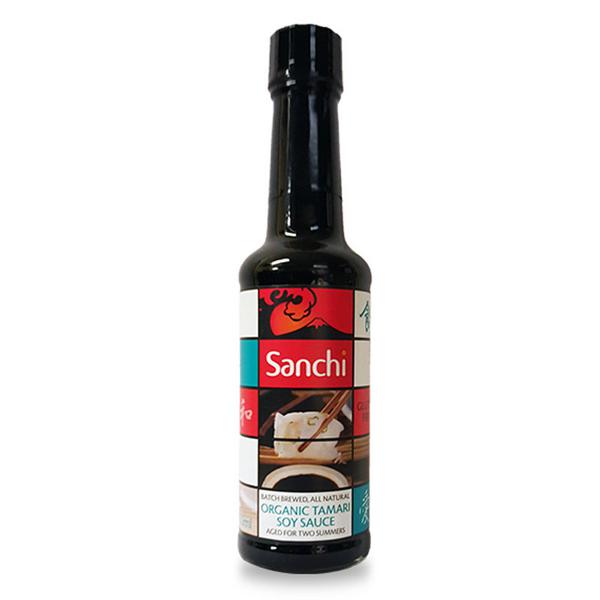
Side note, I’ve used about 50 ml of gf soy sauce for this, mainly because it was the last bits in the bottle, and it’s delicious. But it does make it a bit dark. You can use 25 mls normally. It looks more like this. IMG_9811


Fast Stir Fry Pork (过油肉 – Guò Yóu Riu)

IMG_3778
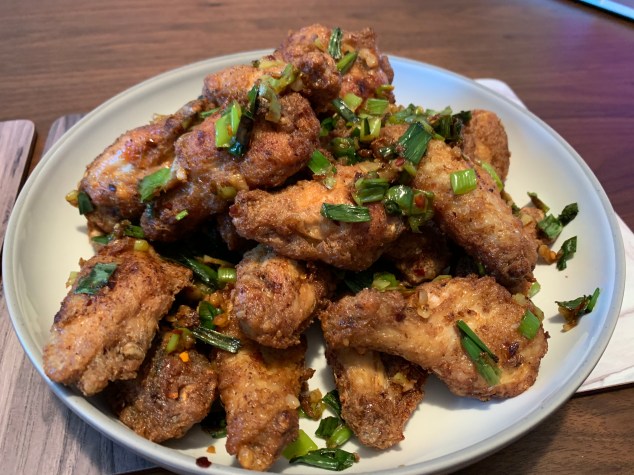
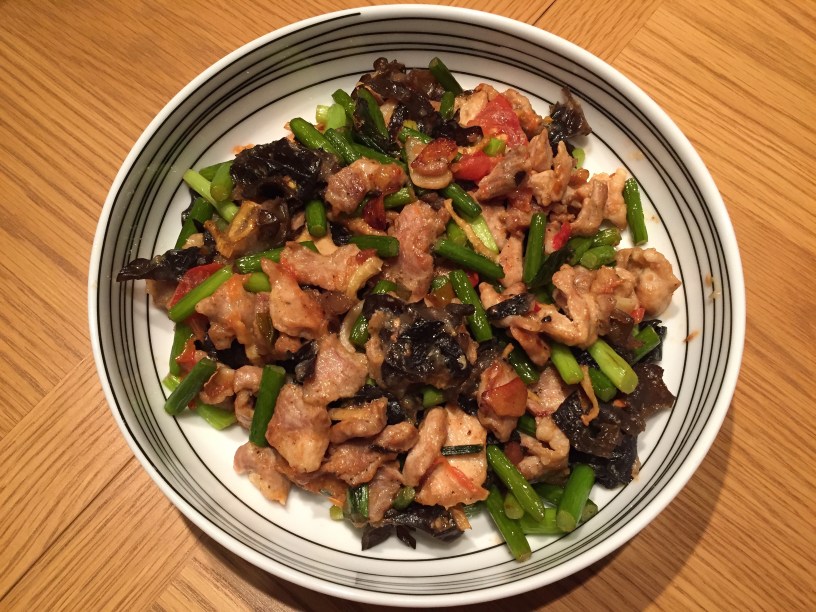
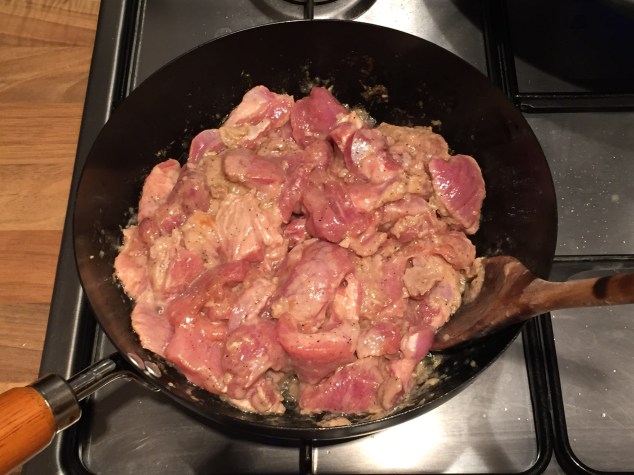
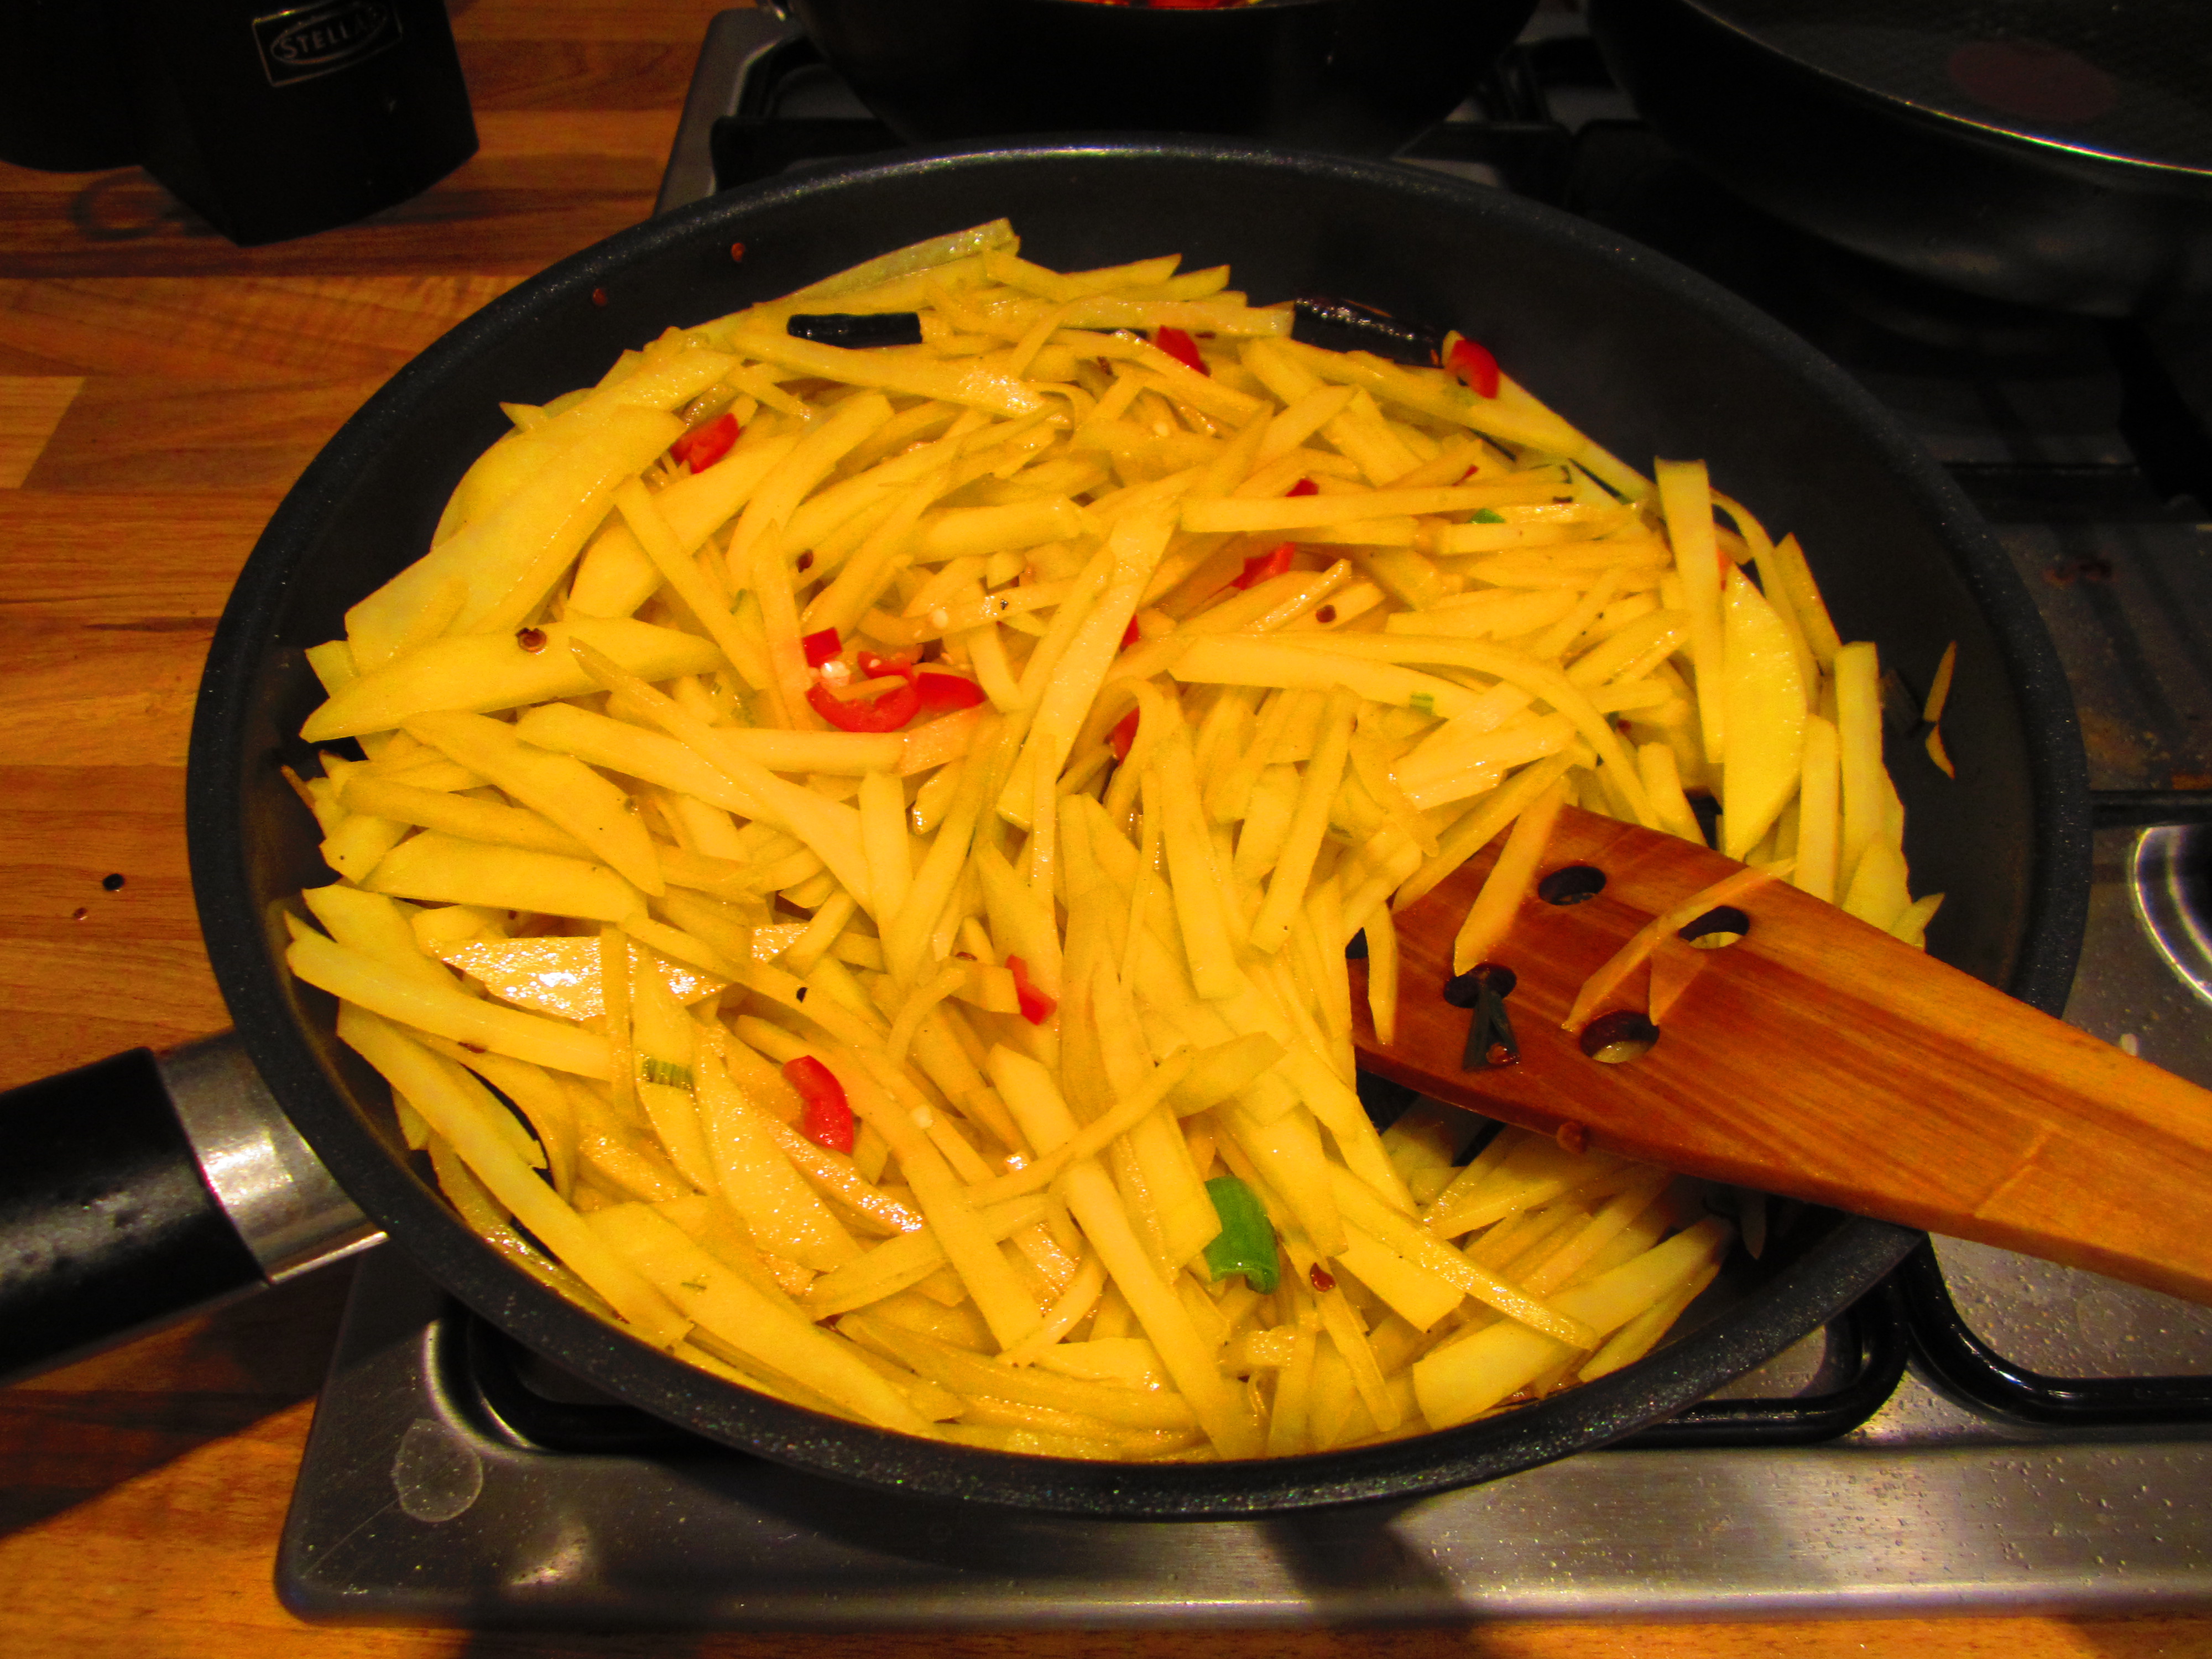
This is another favourite of my childhood years in China. It originates from the ShanXi region of China and the making of it can vary quite a lot even within the province. This is my take on it and although it doesn’t compare anywhere near some of the best I’ve had, it’s close enough to make me miss them. The key to this dish is plenty of oil and high heat, everything should be done in as little as 5 minutes! In Chinese the name literally means meat passing through oil by oil they mean very hot oil!
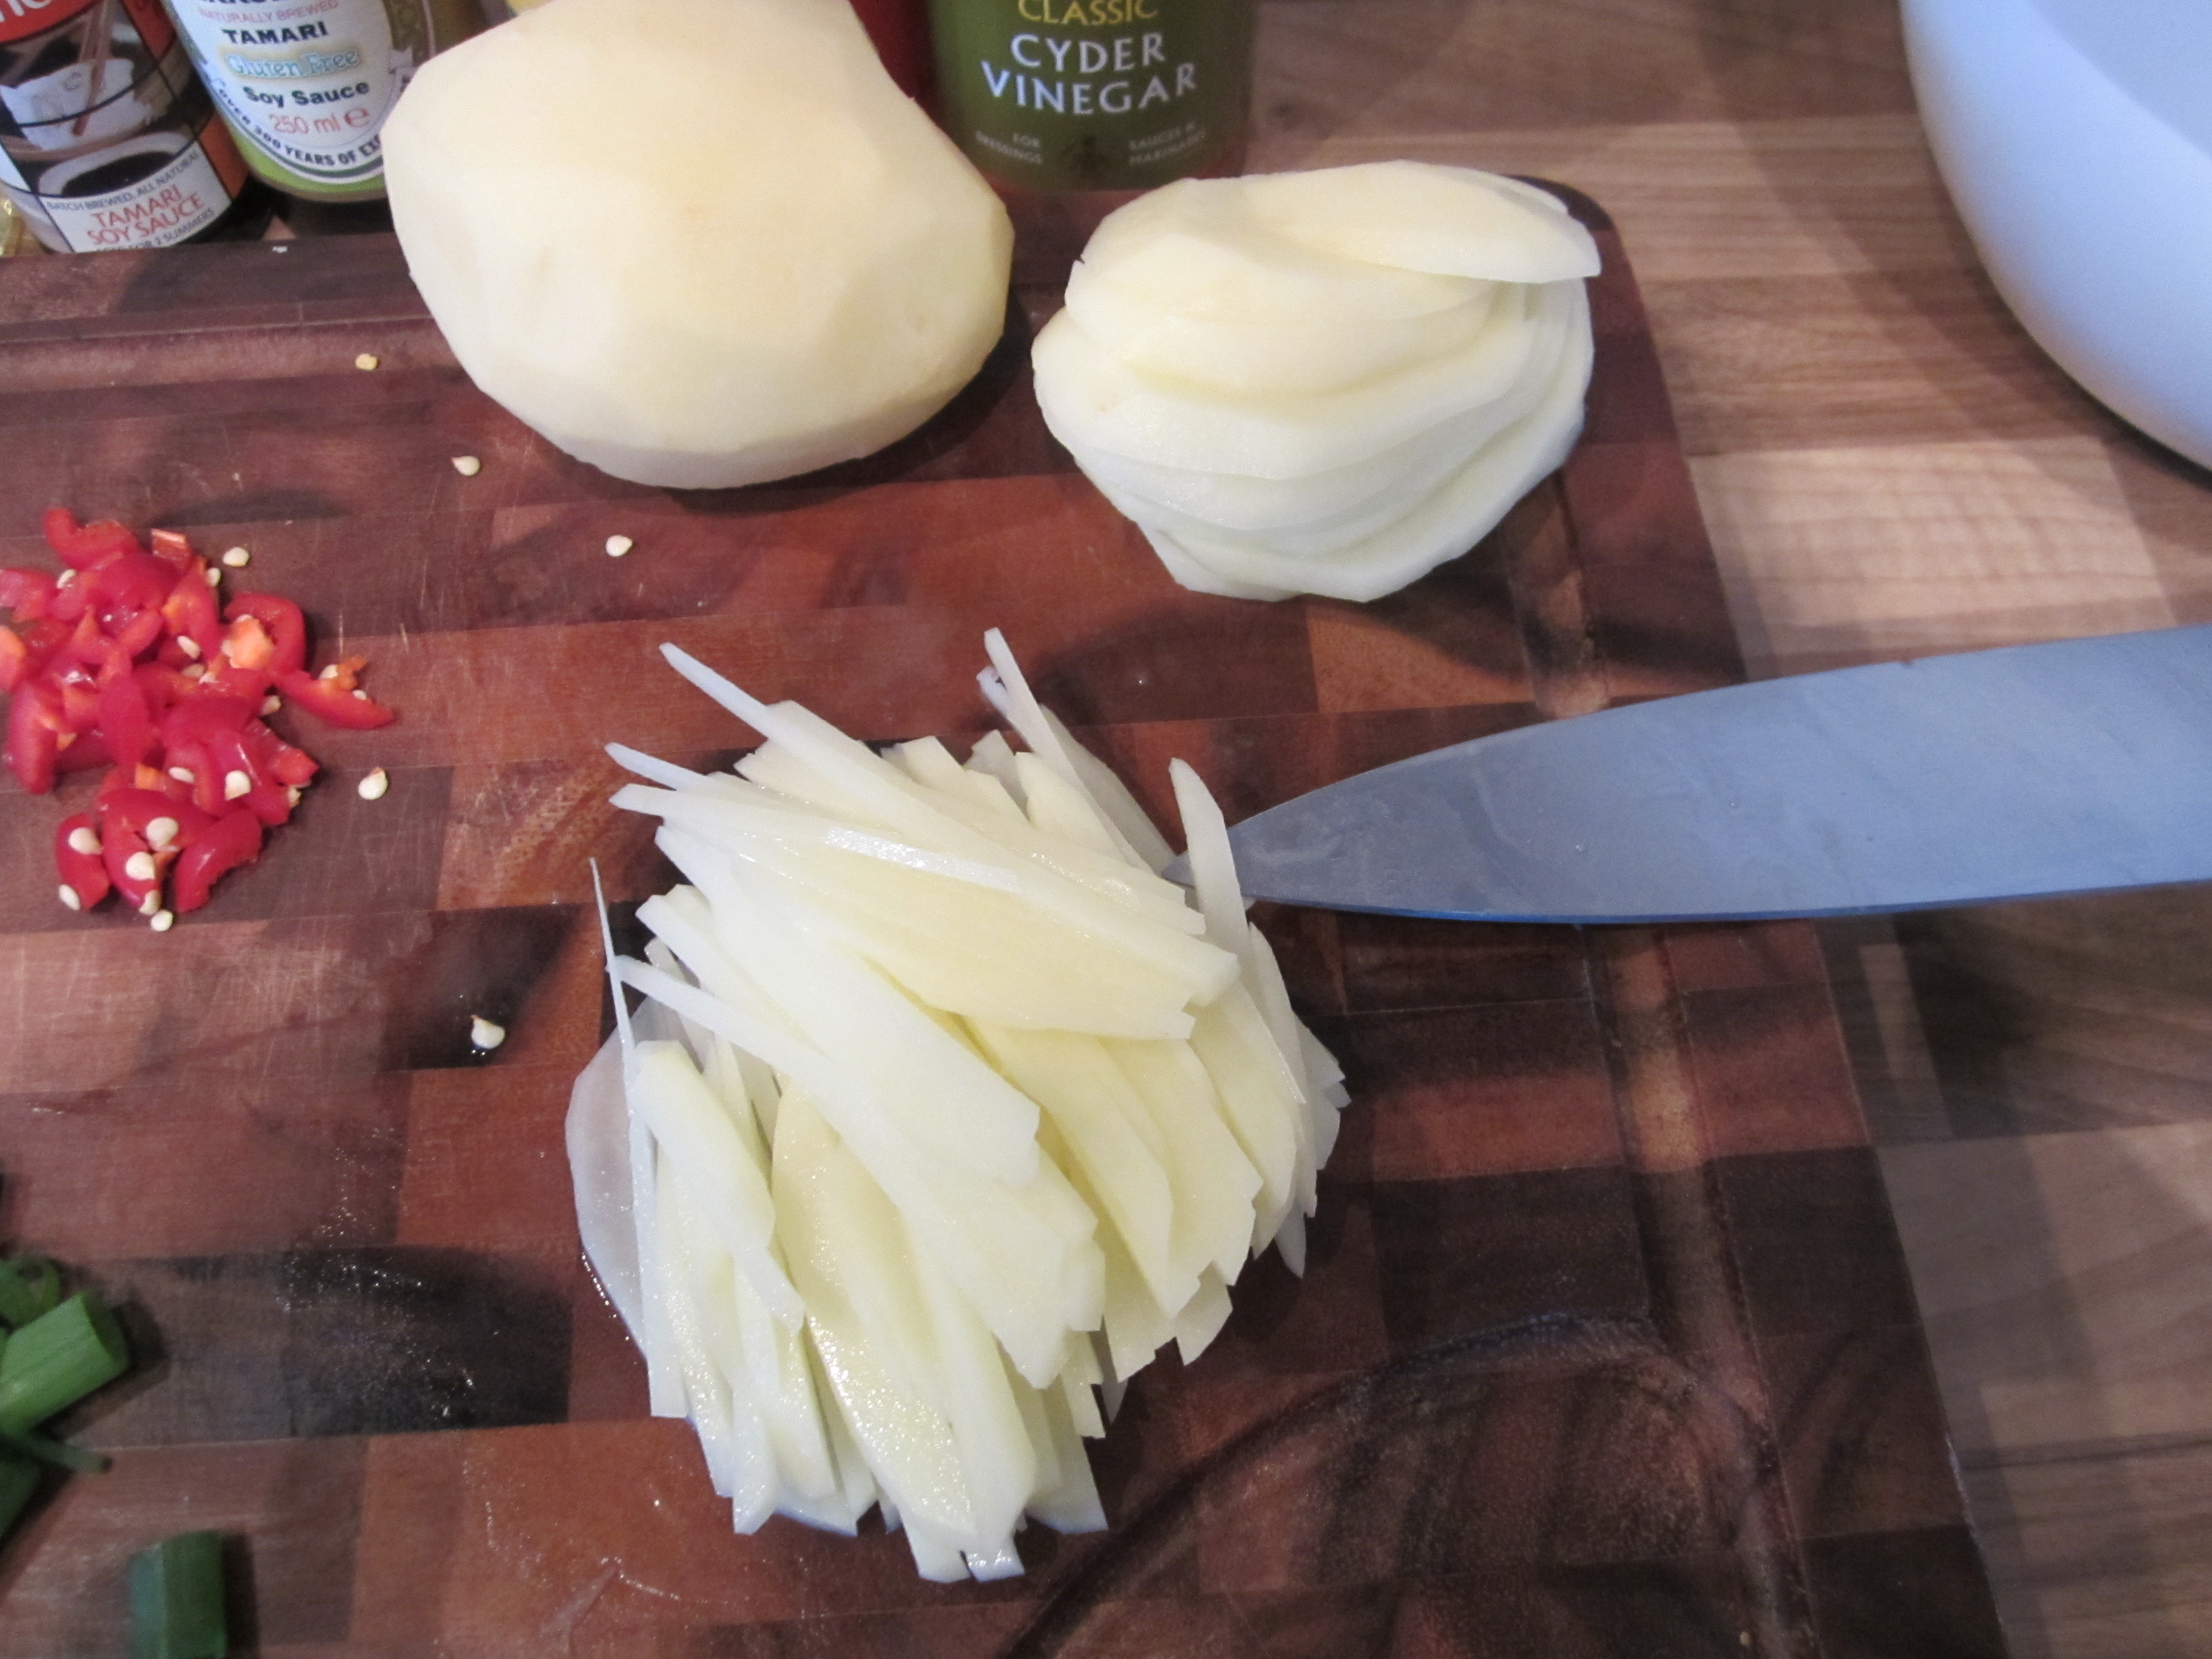
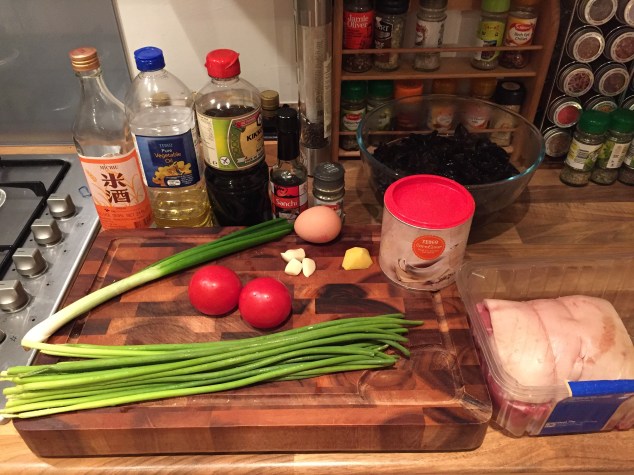
There’s two new ingredient introduced in this recipe which might not be familiar with everyone, I certainly don’t see them in the supermarkets of the UK. So you’ll probably have to pay a visit to your nearest Chinese supermarket with a decent vegetable selection.

The first is garlic shoots, it is absolutely delicious! I can just eat it in everything and as the name suggests it tastes kind of garlicky! Take care when taking this on a bus as the smell will make everyone within a 2 meter radius look at you with suspicion. If it doesn’t smell then it might not be the freshest stuff.

The second ingredient is wood ear. It’s a fungi like mushrooms, but unlike mushrooms, I love this stuff! It adds a very interesting taste and texture to a dish. Due to its large surface area, it’s amazing at absorbing a lot of taste. It usually come dehydrates and will require soaking in warm/hot water for 30 minutes before use.

IMG_4412

Ingredients

200 g pork shoulder finely sliced
10-20 fresh garlic shoot shopped in 3 cm chunks (I love it so the more the merrier) if you can’t find it then replace with roughly chopped onion.
1 spring onions roughly chopped
1 large handful of wood-ears soaked and with the slightly hard knobbly bit removed
2 medium tomatos sliced
1 thumb-sized ginger, sliced into strips
3 large cloves of garlic, finely chopped
1 large egg
3 tablespoon corn flour
1 tsp black pepper
3 tablespoon all purpose Kikkoman gf soy sauce (or light soy sauce)
2 tablespoons Sanchi gf soy sauce (dark soy sauce)
2 tablespoons rice wine
3 tablespoon rapeseed oil or groundnut oil/vegetable oil

Utensils

1 medium flat pan

Methods  

  1. Thinly slice the pork shoulder.IMG_4414
  2. Marinate the pork in egg, corn flour, back pepper, rice wine and light soy sauce for at least 30 minutes (ideally longer).IMG_4415
  3. Cover the bottom of the wok with plenty of oil (essential for this dish) then add the pork and fry until browned. whilst frying, prepare the garlic shoot, spring onion, ginger, garlic, tomatoes and woodear. Once the meat is done, set aside for later.IMG_4417IMG_3760IMG_3764
  4. Heat the pan with some oil and add the spring onion, ginger and garlic. Fry for 2 minutes until fragrant.IMG_3766
  5. Add the fresh garlic shoot and fry for another minute.IMG_3770
  6. Add the woodear and stir together.IMG_3771
  7. Add the pork, tomatoes and salt and dark soy sauce to taste. Stir everything together on a high heat very quickly.IMG_3774
  8. When everything is hot and mixed, add the corn flour mixed with 4 tablespoons of water.IMG_3775
  9. Stir fry for another minute and serve!

Stir Fried Potato Slivers (炒土豆丝 – chǎo tǔ dòu sī)

IMG_9902It has been a while since the last post as I’ve been away on a culinary journey in Morocco and also distracted by the occasional sun, which despite what people say, does appear in the UK.

I’ve chosen to returned with another classic chinese dish which is so common and popular it is often referred to as China’s national dish (by mainland chinese people at least)! The history of this probably dates back again to the days of the communist revolution when food was scarce, a situation which didn’t change much even decades afterwards. So people had to make do with what was available, and once again the potato comes to the rescue. Due to the wide availability of potatoes, this dish became a hit! To this day you can find it on most restaurant menus and frequently eaten at home as an accompaniment to rice.

So enjoy this chinese take on the world’s most popular tuber.

IMG_9879Ingredients

2 or 3 medium potatoes (depending on how hungry you are) cut into thin slivers
1 fresh red chilli (optional for Sichuanese style)
4-6 large cloves of garlic, crushed
1 spring onion finely chopped
1 teaspoon salt
1 tablespoon of cider vinegar
1 tablespoon Sichuan peppercorn
2 tablespoon all purpose Kikkoman gf soy sauce (or light soy sauce)
1 tablespoon Sanchi gf soy sauce (dark soy sauce)
3 tablespoon groundnut oil or vegetable oil

Utensils

1 medium flat pan/wok
1 large bowl/sieve

Methods  

  1. Peel the potatoes, and prepare the spring onion, garlic and chillies.IMG_9881
  2. Cut the potatoes into fine slivers, ~ 1.5 mm wide if possible.IMG_9883
  3. Place the potato slivers into a sieve and wash under cold water thoroughly to remove the surface starch. Let aside for later.IMG_9886
  4. Add the oil to the pan and warm on a medium heat. When hot, add the Sichuan peppercorns and heat until the aromas are released. You can remove the peppercorn at this point to avoid eating them later, but this is often not done in China.IMG_9888
  5. Add the dried chillies and heat for 2 minutes.IMG_9889
  6. Then add the spring onions and heat for another minute.IMG_9893
  7. Add the potato slivers to the pan and turn up the heat. After 1 minute add the salt and soy sauce.IMG_9896
  8. Fry until the potatoes softens and goes slightly opaque. Add the fresh chillies and cook for another minute.IMG_9898
  9. Finally remove from heat and add the garlic and vinegar. Mix well in the pan whilst still hot.
  10. Serve and enjoy!

Stir Fried Green Beans (炒豆角 – chǎo dòu jiǎo)

IMG_9304Another staple on every dinner table or restaurant table alike! It is usual when ordering at restaurants to have a few vegetable accompaniments after ordering all the meaty mains and I always pick this one! It’s becoming less popular at banquets as it is seen as a rather cheap and simple dish but that’s all the better! Like many ‘vegetable’ dishes in China nowadays, it has quite a bit of meat. This seems like a trend on the up as peoples craving for meat is increasingly satisfied and surpassed into pure indulgence.

This puts my recent recipe for everyday mince to good use. It looks and smells absolutely delicious and of course that’s all a prelude to how fantastic it tastes! I can eat this all day and it’s so simple to make! Warning, if you add the garlic people may avoid you, but it’s so worth it!IMG_9289

Ingredients

200 g green beans (fine beans) trimmed
1 fresh finger chilli (optional for Sichuanese style)
150 g everyday cooking mince
3 tablespoon all purpose Kikkoman gf soy sauce (or light soy sauce)
5 tablespoon Sanchi gf soy sauce (dark soy sauce)
3 tablespoon groundnut oil or vegetable oil
2 large cloves of garlic, finely chopped as garnish

Utensils

1 medium flat pan

Methods  

  1. Trim both ends of the green beans.IMG_9292
  2. Add to the pan the everyday cooking mince on medium heat for 2 minutes until sizzling.IMG_9295
  3. Throw in the green beans and stir occasionally to make sure they cook evenly. Leave them on a medium heat for 6/7 minutes (depending on personal preference, but I love to leave the beans just a little crunchy… so good!).IMG_9297
  4. In the meantime finely chop the garlic.
  5. Serve the green beans and throw on the garlic.
  6. Enjoy!